You check the app on a November evening after a noise in the driveway and the picture is a mess: the car looks like a smear, the gate has vanished and there is a bright blob where the porch light should be. Yet at lunchtime the same camera gave a perfectly respectable view.
Before you decide the camera is broken, or reach for a replacement, it helps to understand why night footage is a different problem altogether. In most cases the camera is behaving normally and the fix is about light, position and settings.
Why night footage is a different problem
A camera works by collecting light. In daylight there is plenty, so it can use a fast shutter and low sensitivity, which gives a clean, sharp image. After dark the camera has far less to work with, so it compensates by slowing the shutter and boosting sensitivity. The slower shutter smears anything that moves, and the boosted sensitivity shows up as grain or speckle.
Many cameras also switch into a monochrome infrared mode at night. This is normal, and it is why colours disappear. The infrared illuminator lights nearby objects well but falls off quickly with distance, so a face at three metres can look fine while a car at the end of the drive is murky. That fall-off is physics rather than a fault, and it is the first thing to bear in mind when judging a night picture.
Recognising the common culprits
Learn to read what you are seeing. A bright white haze across the middle of the picture, often with a ring or glow, usually means infrared light is bouncing straight back into the lens, typically from a nearby wall, soffit, fascia or even the camera's own housing. Raindrops, cobwebs and moths do the same thing, and in autumn and winter spiders love the warm front of a camera.
Heavy grain with a dark, flat image points to too little light reaching the scene. A picture that looks fine near the camera but fades to black further away suggests you are asking the infrared to reach too far. Blurred movement with otherwise acceptable detail is the slow shutter at work. Each symptom points to a different fix, which is why guessing wastes time.
Checks you can do in an afternoon
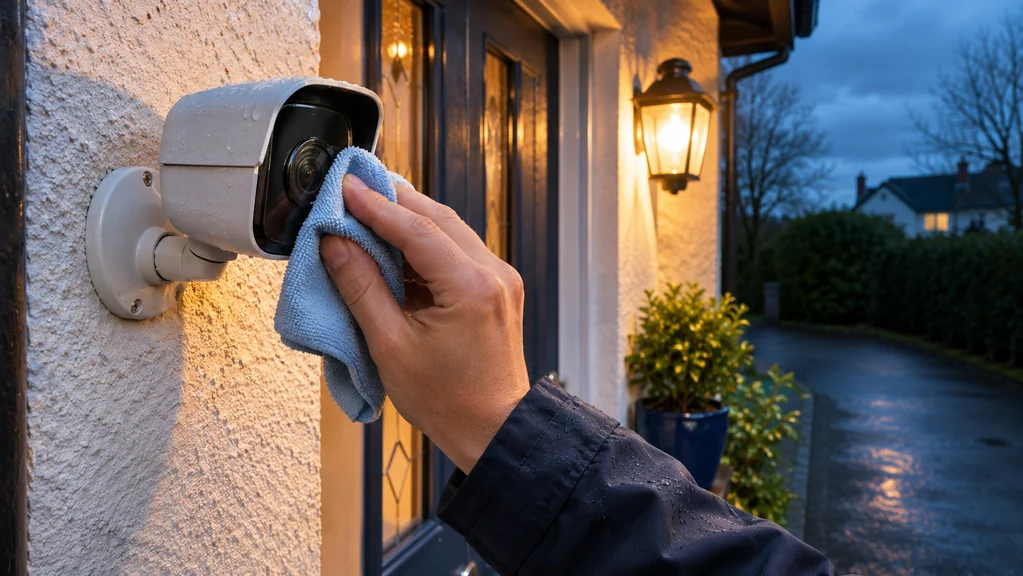
Start by cleaning the lens and the dome or window in front of it, and clear away any cobwebs. Then look at what sits within a metre or so of the lens, because a wall, gutter or bracket close to the camera will reflect infrared straight back and fog the whole picture. Moving the camera a short way out from the surface, or angling it slightly away, often cures a glare problem outright.
Next, compare day and night views of the same scene. If the whole night image is dim, add ordinary visible light where you can: a porch light, a motion-activated floodlight or a bulb left on in a window can transform the footage, and it lets the camera stay in colour mode if it supports that. Finally, open the camera settings and look at the night mode, exposure and any noise-reduction options. Settings differ between makes, so check the manual rather than assuming, and change one thing at a time so you know what helped.
Placement matters more than people expect
Cameras pointed at a street, a road or a neighbour's property can be dazzled by headlights and streetlamps, which makes the rest of the picture go dark as the camera tries to cope with the bright spot. Re-aiming so the brightest light sits at the edge of the frame, or using the camera's backlight or wide-dynamic-range setting if it has one, often helps.
Distance is the other trade-off. If the thing you care about is a face at the front door, mount the camera so that area is close and well lit, rather than expecting a wide view of the whole garden to be sharp after dark. One camera rarely delivers both a wide overview and clear close detail at night.
When new equipment will not help
Replacing a camera is rarely the right first move. If glare comes from a wall too close to the lens, a new camera will have exactly the same glare. If the scene is simply unlit, a pricier camera still has little light to collect. Fix the position, the cleanliness and the lighting first, and only then judge whether the camera itself is the limit.
That said, if you have done all of that and still cannot get a usable picture, the camera may genuinely be too basic for the job, and you should look at a model whose published night-vision specification suits the distance you need.
Where alarm kit fits into the picture
Some customers discover that the real need is not a better night picture but knowing something has happened in the first place. An alarm hub paired with door and motion detectors can alert you, and the supplied evidence says the Dahua hub and kits offer video linkage in the app, so an alert can be tied to a camera view. That helps you look at the right moment rather than scrolling through hours of dark footage.
For a home with reliable broadband, the wired-network kit Dahua Wireless Alarm Kit – Wired LAN Only is described as having an Ethernet port, wireless detector support and video linkage. If your internet is patchy or you want a fallback connection, the 4G version Dahua Wireless Alarm Kit – 4G Modem adds SIM-based connectivity, and the standalone hub Dahua Wireless Alarm Hub 4G Model lists wired, Wi-Fi and 4G options. Before buying any of them, confirm which cameras you intend to link, because the evidence supplied does not state which camera brands or models are compatible, and none of this improves the picture quality of a camera itself.
Your next step
Treat a poor night picture as a lighting and placement puzzle first: clean the lens, move glare sources away, add a little visible light and review the night settings one at a time. Only if the footage is still unusable should you consider changing the camera, and add alarm kit only if your real goal is being alerted rather than seeing more detail.
If you would like help matching equipment to your setup, contact Satellite Direct with your current model and the problem you want to solve.